Introduction
Tiling is an art that can transform any space, from kitchens to bathrooms, making it not only visually appealing but also functional. Whether you're a seasoned DIY enthusiast or just starting, mastering the craft of tiling can save you money on professional tilers and enhance your home’s aesthetic. In this comprehensive guide titled Tiling Tips and Tricks: Elevate Your DIY Skills, we’ll explore everything from preparation to finishing touches, ensuring you have all the tools and knowledge to tackle your tiling project with confidence.
Tiling Tips and Tricks: Elevate Your DIY Skills
When embarking on a tiling project, understanding the nuances of the craft is essential. Each step—from selecting tiles to laying them—requires careful thought and execution. The following sections will delve into various aspects of tiling, providing you with practical advice that can elevate your skills significantly.
Choosing the Right Tiles for Your Project
Types of Tiles Available
Tiles come in various materials, including ceramic, porcelain, glass, and natural stone. Each type has its unique look and feel:
- Ceramic Tiles: Affordable and versatile. Porcelain Tiles: Denser and more durable. Glass Tiles: Great for accents but can be slippery. Natural Stone Tiles: Luxurious but require sealing.
Considerations for Selecting Tiles
When choosing tiles for kitchen tiling or bathroom tiling, consider factors like durability, maintenance requirements, texture, color scheme, and slip resistance. For instance:
- Will the tiles withstand moisture if used in a bathroom? Do they match your overall design aesthetic?
Planning Your Layout Before Tiling
Creating a Tiling Plan
Before diving into installation, create a detailed plan. Sketch out how you want your tiles arranged. This includes:
Measuring Your Space Accurately
Accurate measurements are crucial! Here’s how:
- Measure the area where tiles will be placed. Calculate how many tiles you'll need by considering wastage (usually 10% extra).
Essential Tools for Tiling projects
Having the right tools makes all the difference! Here’s a handy list of essentials:
Tile cutter Notched trowel Level Spacers Grout float https://agtiling.co.uk/understanding-the-tiling-process-what-to-expect-from-start-to-finish/Preparing Your Surface for Tiling
Cleaning the Area Thoroughly
Before laying down any tile, ensure the surface is clean from dust or debris. A dirty surface can lead to poor adhesion.
Checking for Levelness
Use a level to check whether your surface is even; if not, make necessary adjustments because uneven surfaces could ruin your tile layout.
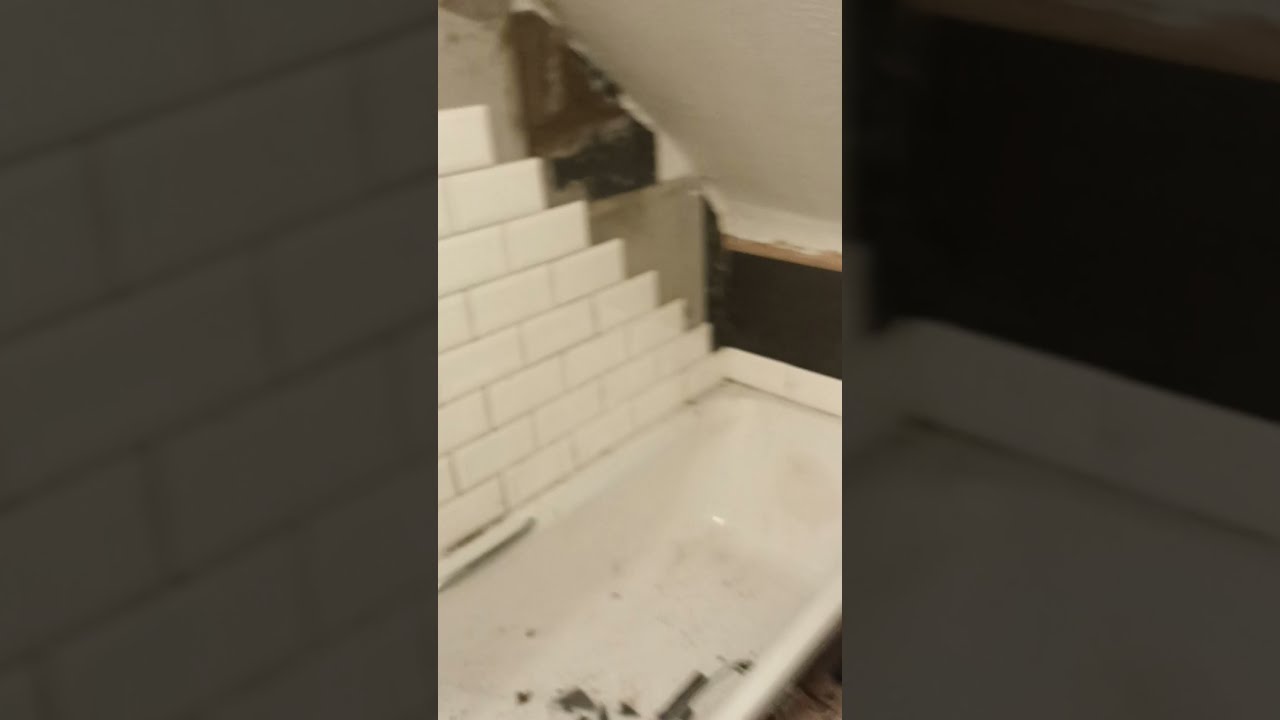
Laying Down Your First Tile
Applying Adhesive Correctly
Here’s how to apply adhesive effectively:
Use a notched trowel to spread adhesive evenly across your surface. Work in small sections to prevent drying out.Positioning Tiles Accurately
When placing your first tile:
Press it firmly into the adhesive. Use spacers to maintain even gaps between tiles.Cutting Tiles to Fit Edges and Corners
Tile cutting can seem daunting but it's essential for achieving a polished look:
https://agtiling.co.uk/the-benefits-of-hiring-local-tiling-contractors-in-northampton/ Measure twice before cutting! Use a tile cutter or wet saw for precise cuts.Grouting Your Tiles Like a Pro
Choosing the Right Grout Color
The color of grout can dramatically change the appearance https://agtiling.co.uk/innovative-tiling-designs-to-transform-your-northampton-home/ of your tiled surface; light colors can make spaces appear larger while darker hues add drama.
Applying Grout Evenly
Here’s how to apply grout efficiently:
Use a grout float at an angle. Work it into all gaps without leaving excess on top of tiles.Sealing Grout for Longevity
After grouting comes sealing—a crucial step often overlooked by DIYers! It protects against stains and moisture penetration:
Wait 48 hours after grouting before applying sealer. Use a paintbrush or applicator pad for even distribution.Maintaining Your Tiled Surfaces Over Time
To keep your new tiles looking fresh:
- Regularly clean with appropriate cleaners — avoid harsh chemicals that might damage surfaces. Reseal grout annually if required by material type.
FAQ Section
1. What are professional tilers?
Professional tilers are skilled tradespeople specializing in installing wall and floor tiles with precision.
2. Why hire professional tilers in Northampton?
Hiring professional tilers in Northampton ensures quality workmanship and expertise that guarantees durability in installations.
3. Can I use any adhesive for all types of tiles?
No! Different adhesives work better with specific tile types; always check compatibility before purchase.
4. How do I choose between ceramic and porcelain tiles?
Ceramic tiles are more affordable while porcelain offers greater durability; choose based on location (high vs low traffic) and style preference.
5. Do I need special tools for cutting glass tiles?
Yes! Glass requires specific tools like a glass cutter or wet saw designed to prevent chipping during cuts.
6. What should I do if my tile gets cracked?
Replace cracked tiles as soon as possible! Carefully remove damaged pieces without disturbing surrounding ones before installing new ones.
Conclusion
In conclusion, mastering the art of tiling doesn’t have to be overwhelming; armed with these tips and tricks from our guide titled "Tiling Tips and Tricks: Elevate Your DIY Skills," you’ll find yourself ready to tackle any project confidently! Whether you're revamping your kitchen or updating bathroom spaces utilizing professional tilers' insights alongside personal initiative leads toward stunning results that reflect both style & function!
By applying these techniques diligently while keeping safety protocols in mind during every step—from planning through execution—you’re guaranteed not just https://agtiling.co.uk/maintaining-your-tiles-expert-tips-for-northampton-homeowners/ beautiful results but also enhanced confidence as skilled DIYer ready take on future renovations too!
Feeling inspired? Grab those tools & start transforming spaces today!